Photography
7 Small Apartment Photo Spots That Make a Room Look Better
Small apartments can photograph well when the frame is simplified and the photographer uses light, depth, clean backgrounds and furniture placement deliberately. The goal is not to show the whole room. It is to choose one small area that supports the photo.
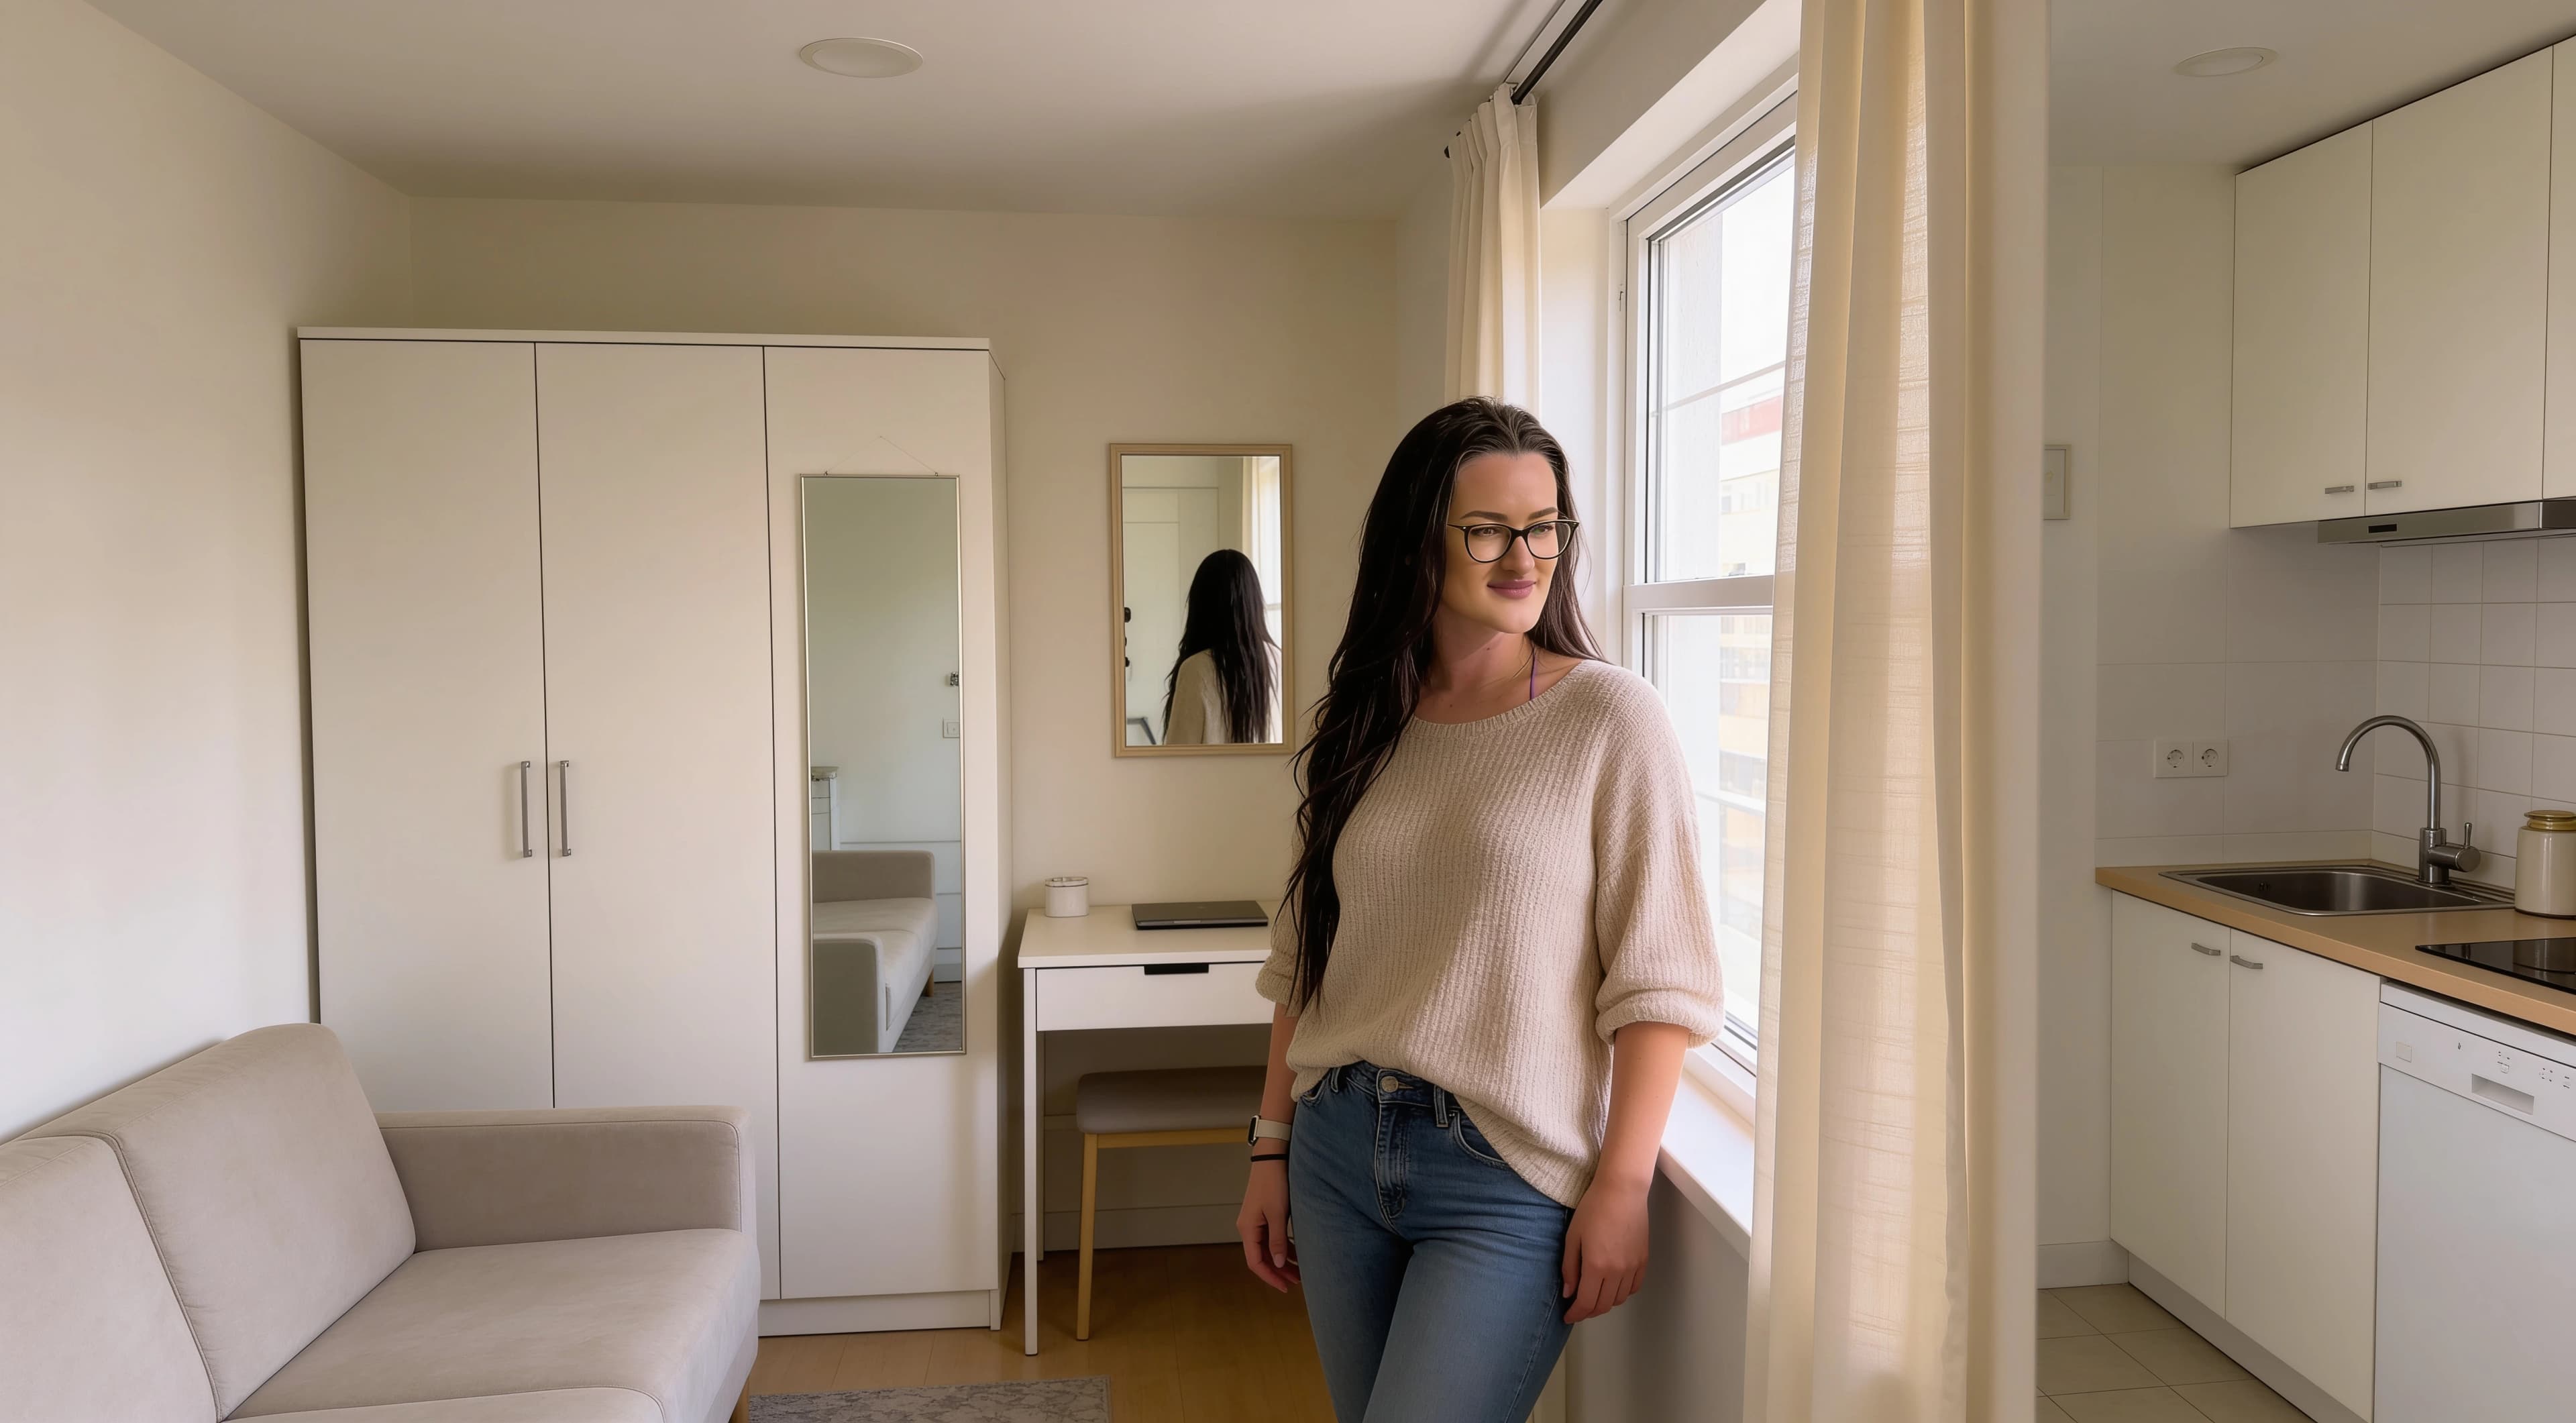
Quick answer
Look for light, separation and fewer distractions.
The best photo spots in a small apartment usually have one clear background, useful window light, enough distance between the subject and the wall, and fewer visible objects competing for attention.
Spot comparison
Which apartment spot should you try first?
| Photo spot | Best for | Main advantage | Watch for |
|---|---|---|---|
| Beside a window | Portraits and outfit photos | Soft directional light | Bright window blowing out |
| Plain wall corner | Clean portraits | Low visual clutter | Flat lighting |
| Sofa edge | Seated lifestyle photos | Natural posing | Messy cushions/background |
| Bedside area | Soft indoor lifestyle photos | Layered textures | Clutter and wrinkled bedding |
| Hallway or doorway | Full-body photos | Natural framing and depth | Narrow perspective distortion |
| Mirror near natural light | Mirror selfies | Depth and easy framing | Reflections showing clutter |
| Kitchen or dining corner | Casual lifestyle photos | Everyday realism | Visual noise and mixed lighting |
Seven practical locations
7 small apartment photo spots worth trying
Each spot works best when it is treated as a small composition. You only need to control what appears in the frame, not the entire room.
SPOT 01
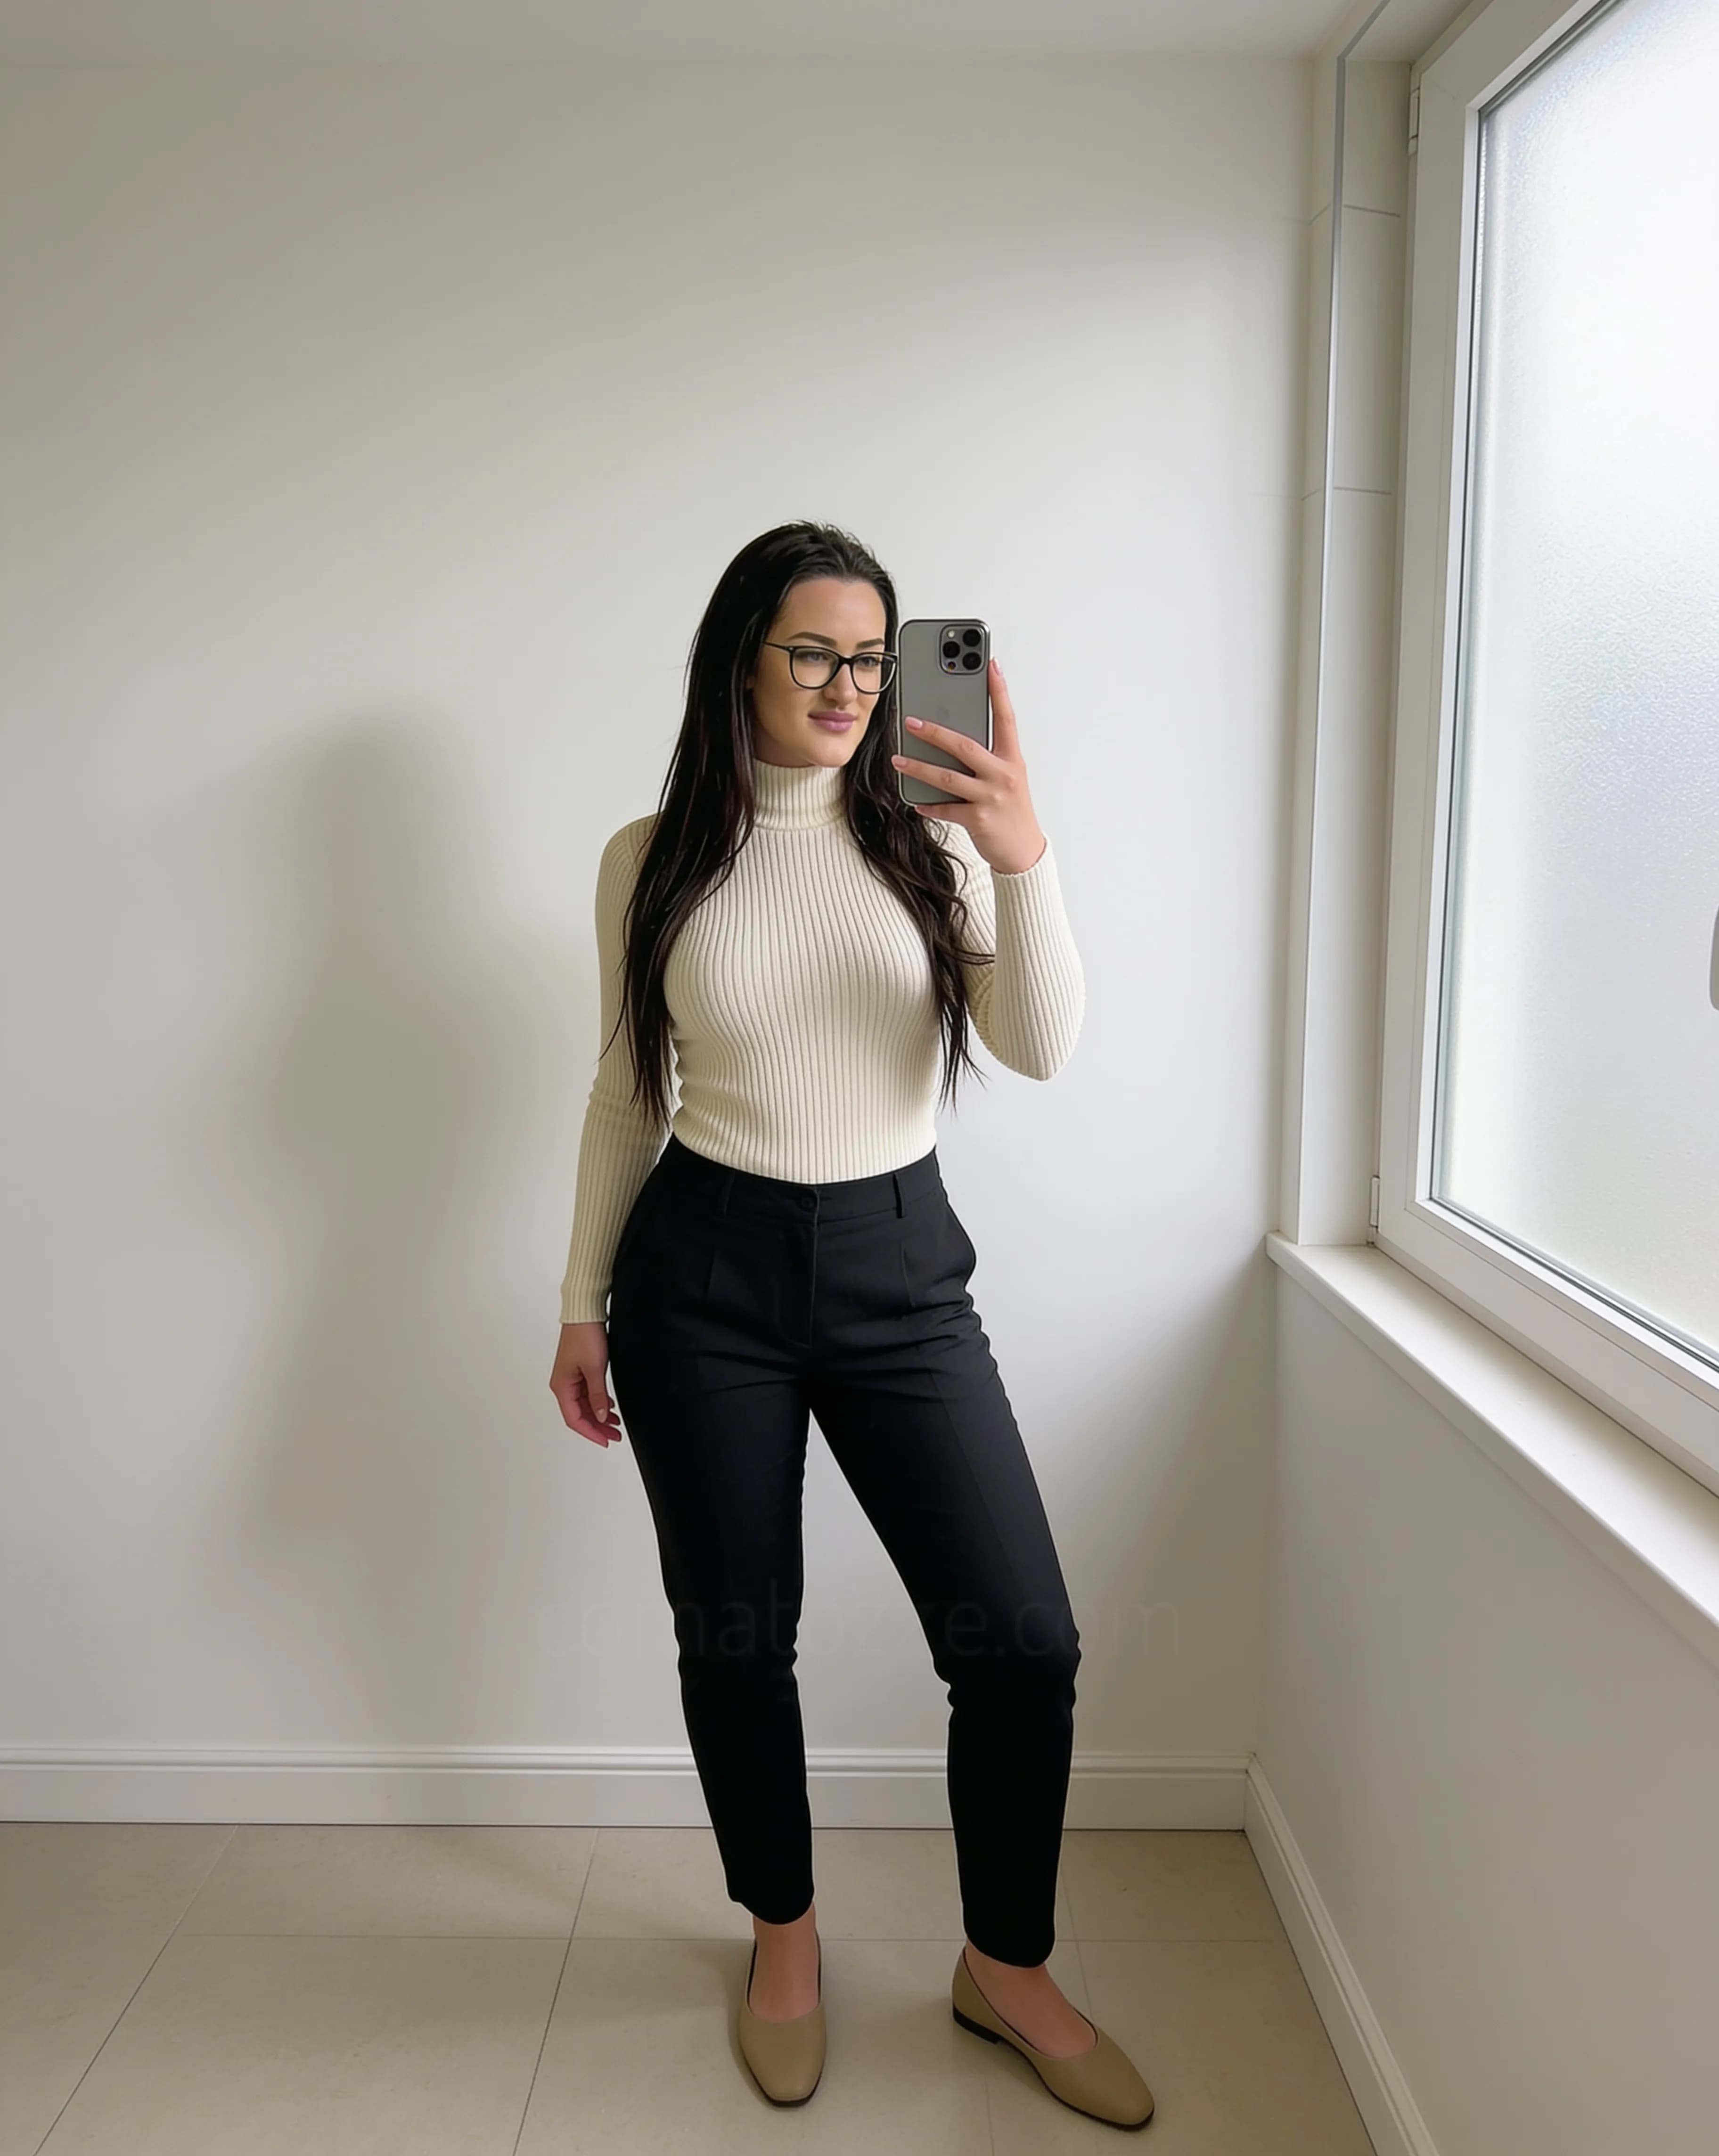
Beside a window
What makes the spot useful
A window gives a small apartment a clear light direction, which can make portraits, outfit photos and simple lifestyle frames feel more dimensional.
Best lighting
Use soft daylight when possible. Face toward the window for even light, or turn slightly for gentle side shadow and more shape.
Best angle
Shoot from just inside the room instead of pressing the subject against the glass. A slight angle usually keeps the window from dominating the frame.
What to remove from the frame
Move bright bottles, cables, laundry, delivery boxes and small objects from the window ledge or floor area that appears in the photo.
Watch for
Very bright windows can blow out and pull attention away from the subject. If that happens, step farther from the glass or shift the camera angle.
One simple example
A standing outfit photo beside a curtain, with the subject turned slightly toward the window and the rest of the room kept out of frame.
SPOT 02
Plain wall corner
What makes the spot useful
A plain corner can work like a clean studio background without needing a studio. It is especially helpful when clothing, hair, makeup or expression should be the focus.
Best lighting
Window light from the side or front usually works better than ceiling light alone. If the wall looks flat, change the subject angle before changing the whole setup.
Best angle
Keep the camera around eye level for portraits. For full-body photos, a slightly lower camera can help include the outfit cleanly while keeping the room perspective natural.
What to remove from the frame
Crop out outlets, switches, door handles, wall marks, floor clutter and anything bright near the edge of the frame.
Watch for
A subject standing directly against the wall can look flat. A small amount of space between the subject and wall helps create separation.
One simple example
A simple half-body portrait in a corner near a window, with one shoulder angled toward the camera and the wall kept clean.
SPOT 03
Sofa edge
What makes the spot useful
The edge of a sofa creates a natural seated pose and can make a small room feel lived-in without showing the entire apartment.
Best lighting
Side window light is usually flattering. If the sofa is far from the window, turn off strong overhead lights and compare one test frame before continuing.
Best angle
Photograph from a slight diagonal rather than straight-on. This shows the seat, posture and background in layers instead of flattening everything into one plane.
What to remove from the frame
Remove extra cushions, remotes, cups, charging cables, blankets that look accidental and any object that creates a bright distraction behind the subject.
Watch for
Soft furniture can look messy quickly. Straighten visible cushion edges and let one texture, such as a throw or pillow, do the visual work.
One simple example
A casual seated photo on the front edge of the sofa, with one neutral cushion and a clean wall or curtain behind it.
SPOT 04
Bedside area
What makes the spot useful
A bedside setup can feel soft and personal because bedding, pillows, lamps and curtains create natural texture in a small frame.
Best lighting
Soft morning or afternoon window light works well. Warm lamps can be useful for atmosphere, but mixed daylight and yellow bulbs may create uneven color.
Best angle
Shoot across the bed or from the side rather than straight down. This keeps the image from looking like a room inventory photo.
What to remove from the frame
Clear nightstand clutter, visible cords, tissue boxes, laundry, strong packaging colors and bedding wrinkles that pull attention.
Watch for
Too many pillows, blankets or patterns can make the photo feel busy. Let one texture or one color lead the frame.
One simple example
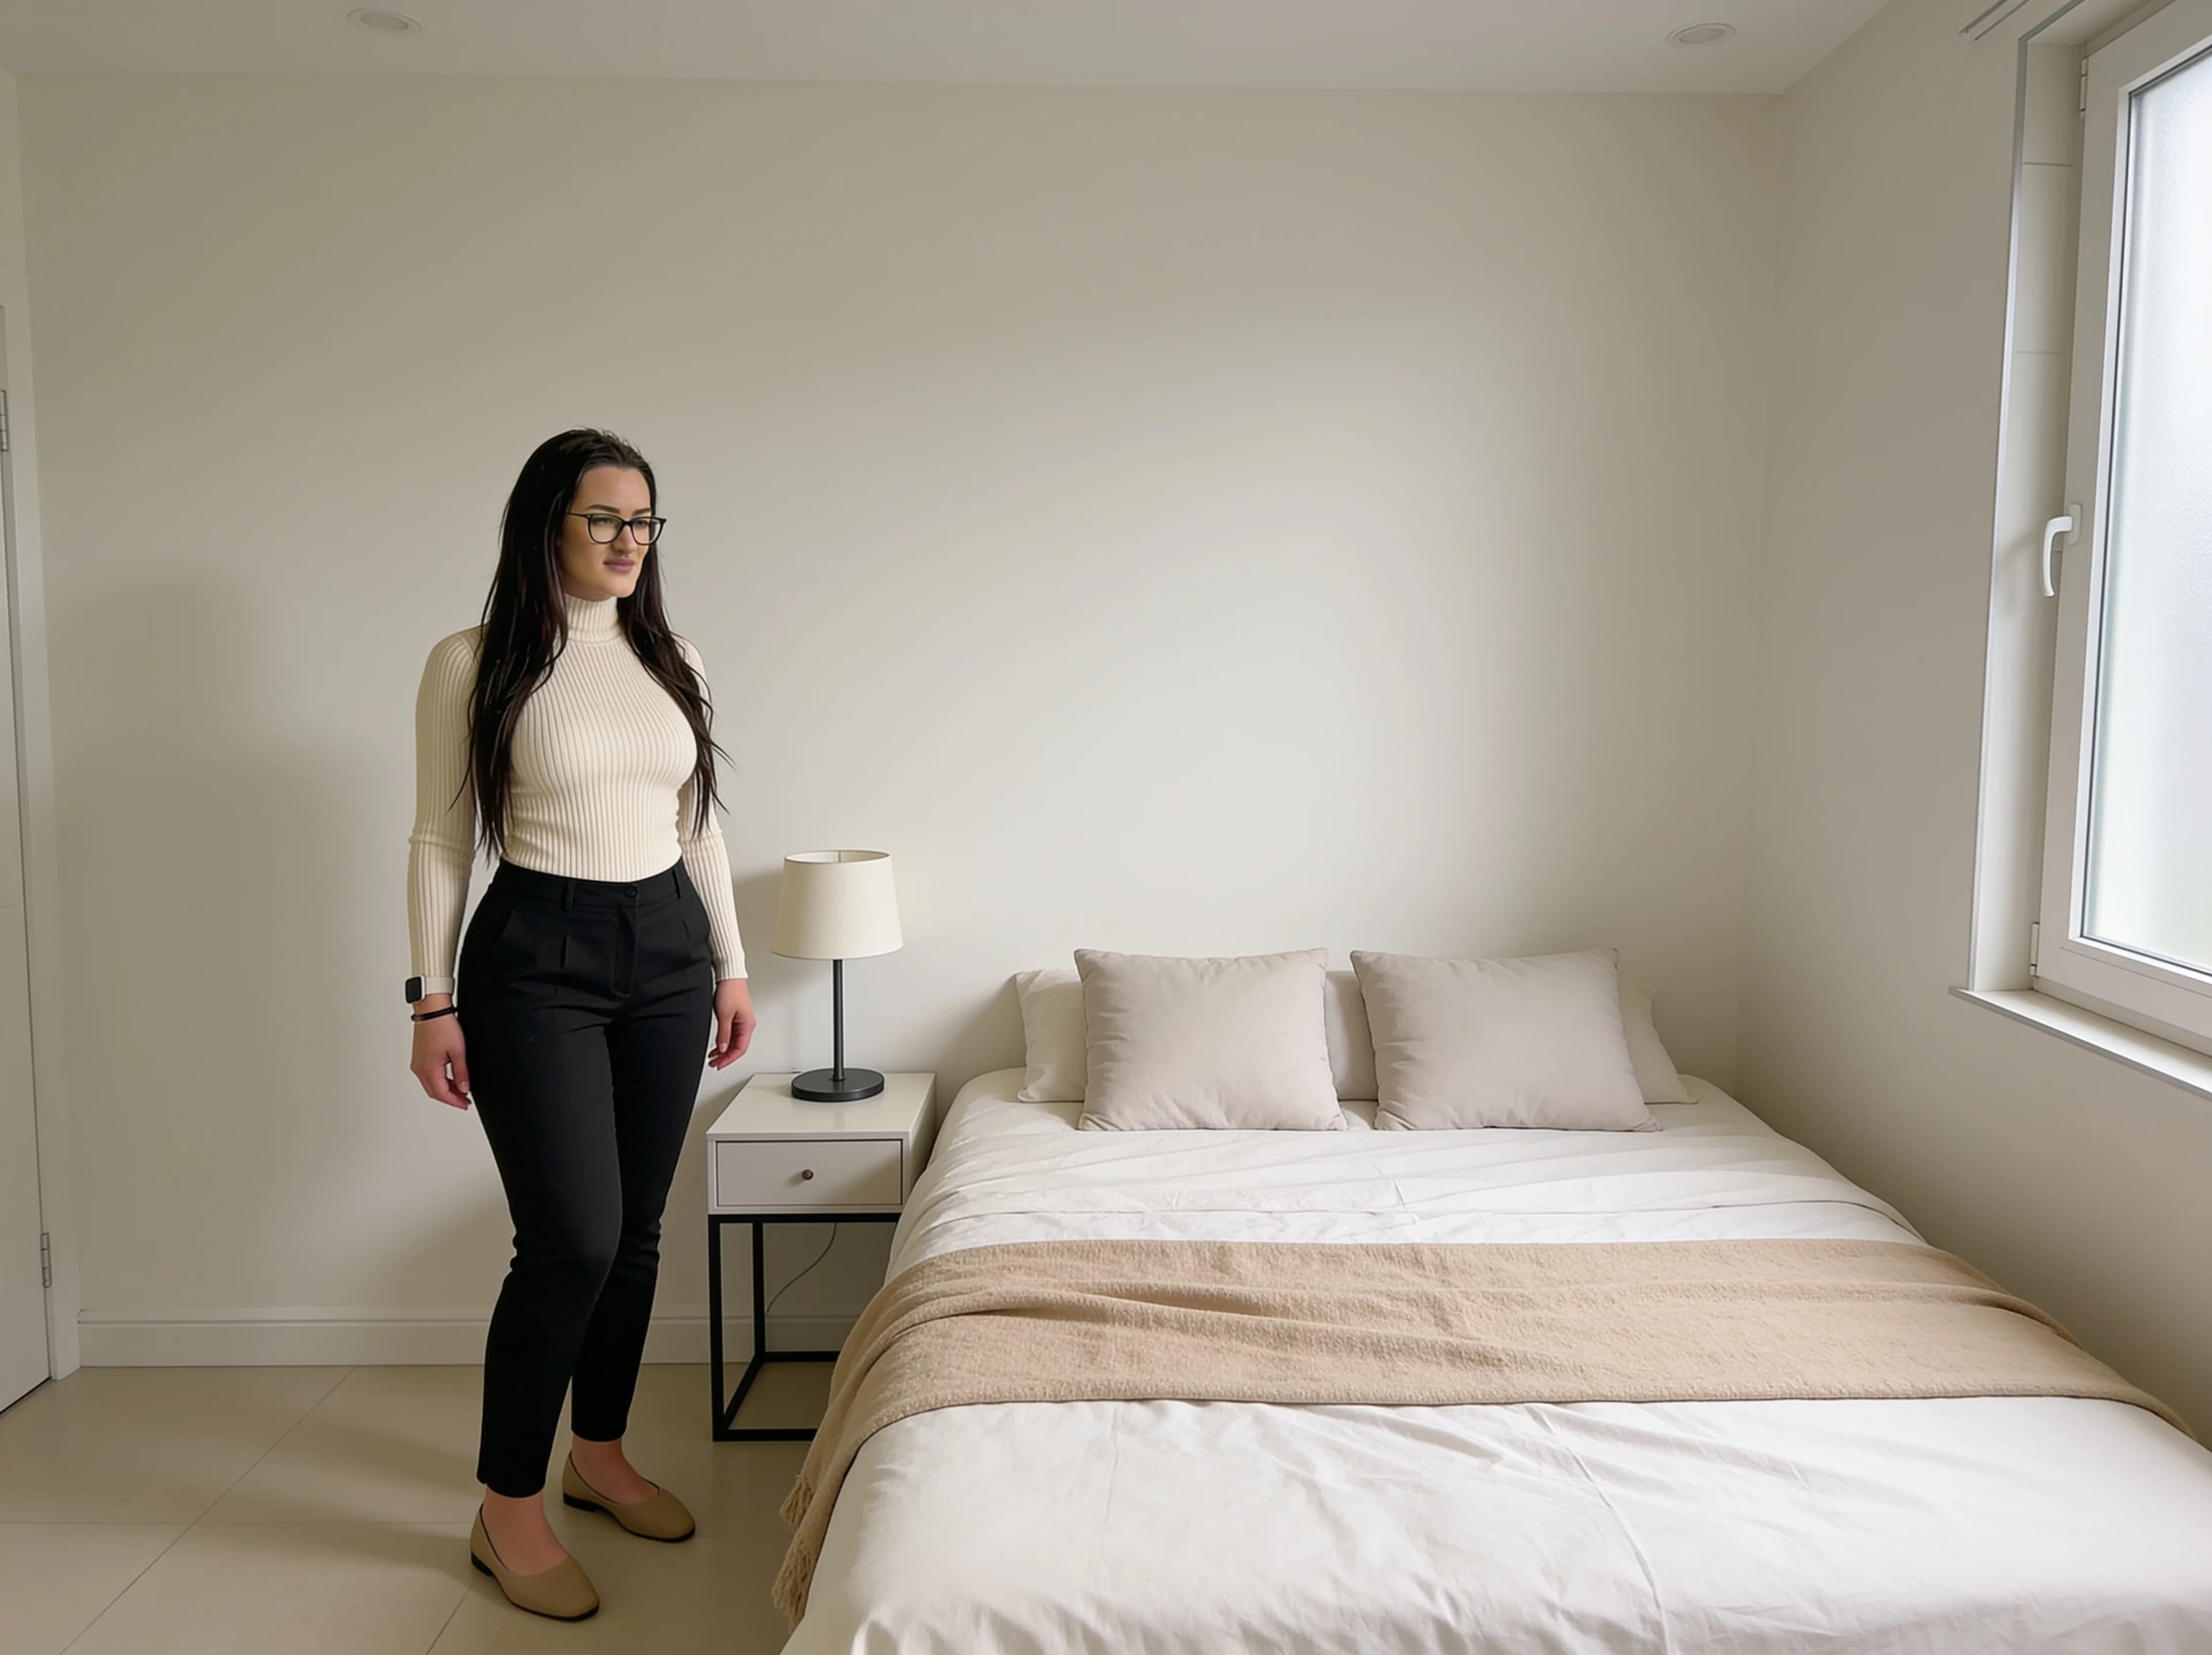
A relaxed indoor photo seated at the bed edge, with smooth bedding, one blanket and a simple nightstand.
SPOT 05
Hallway or doorway
What makes the spot useful
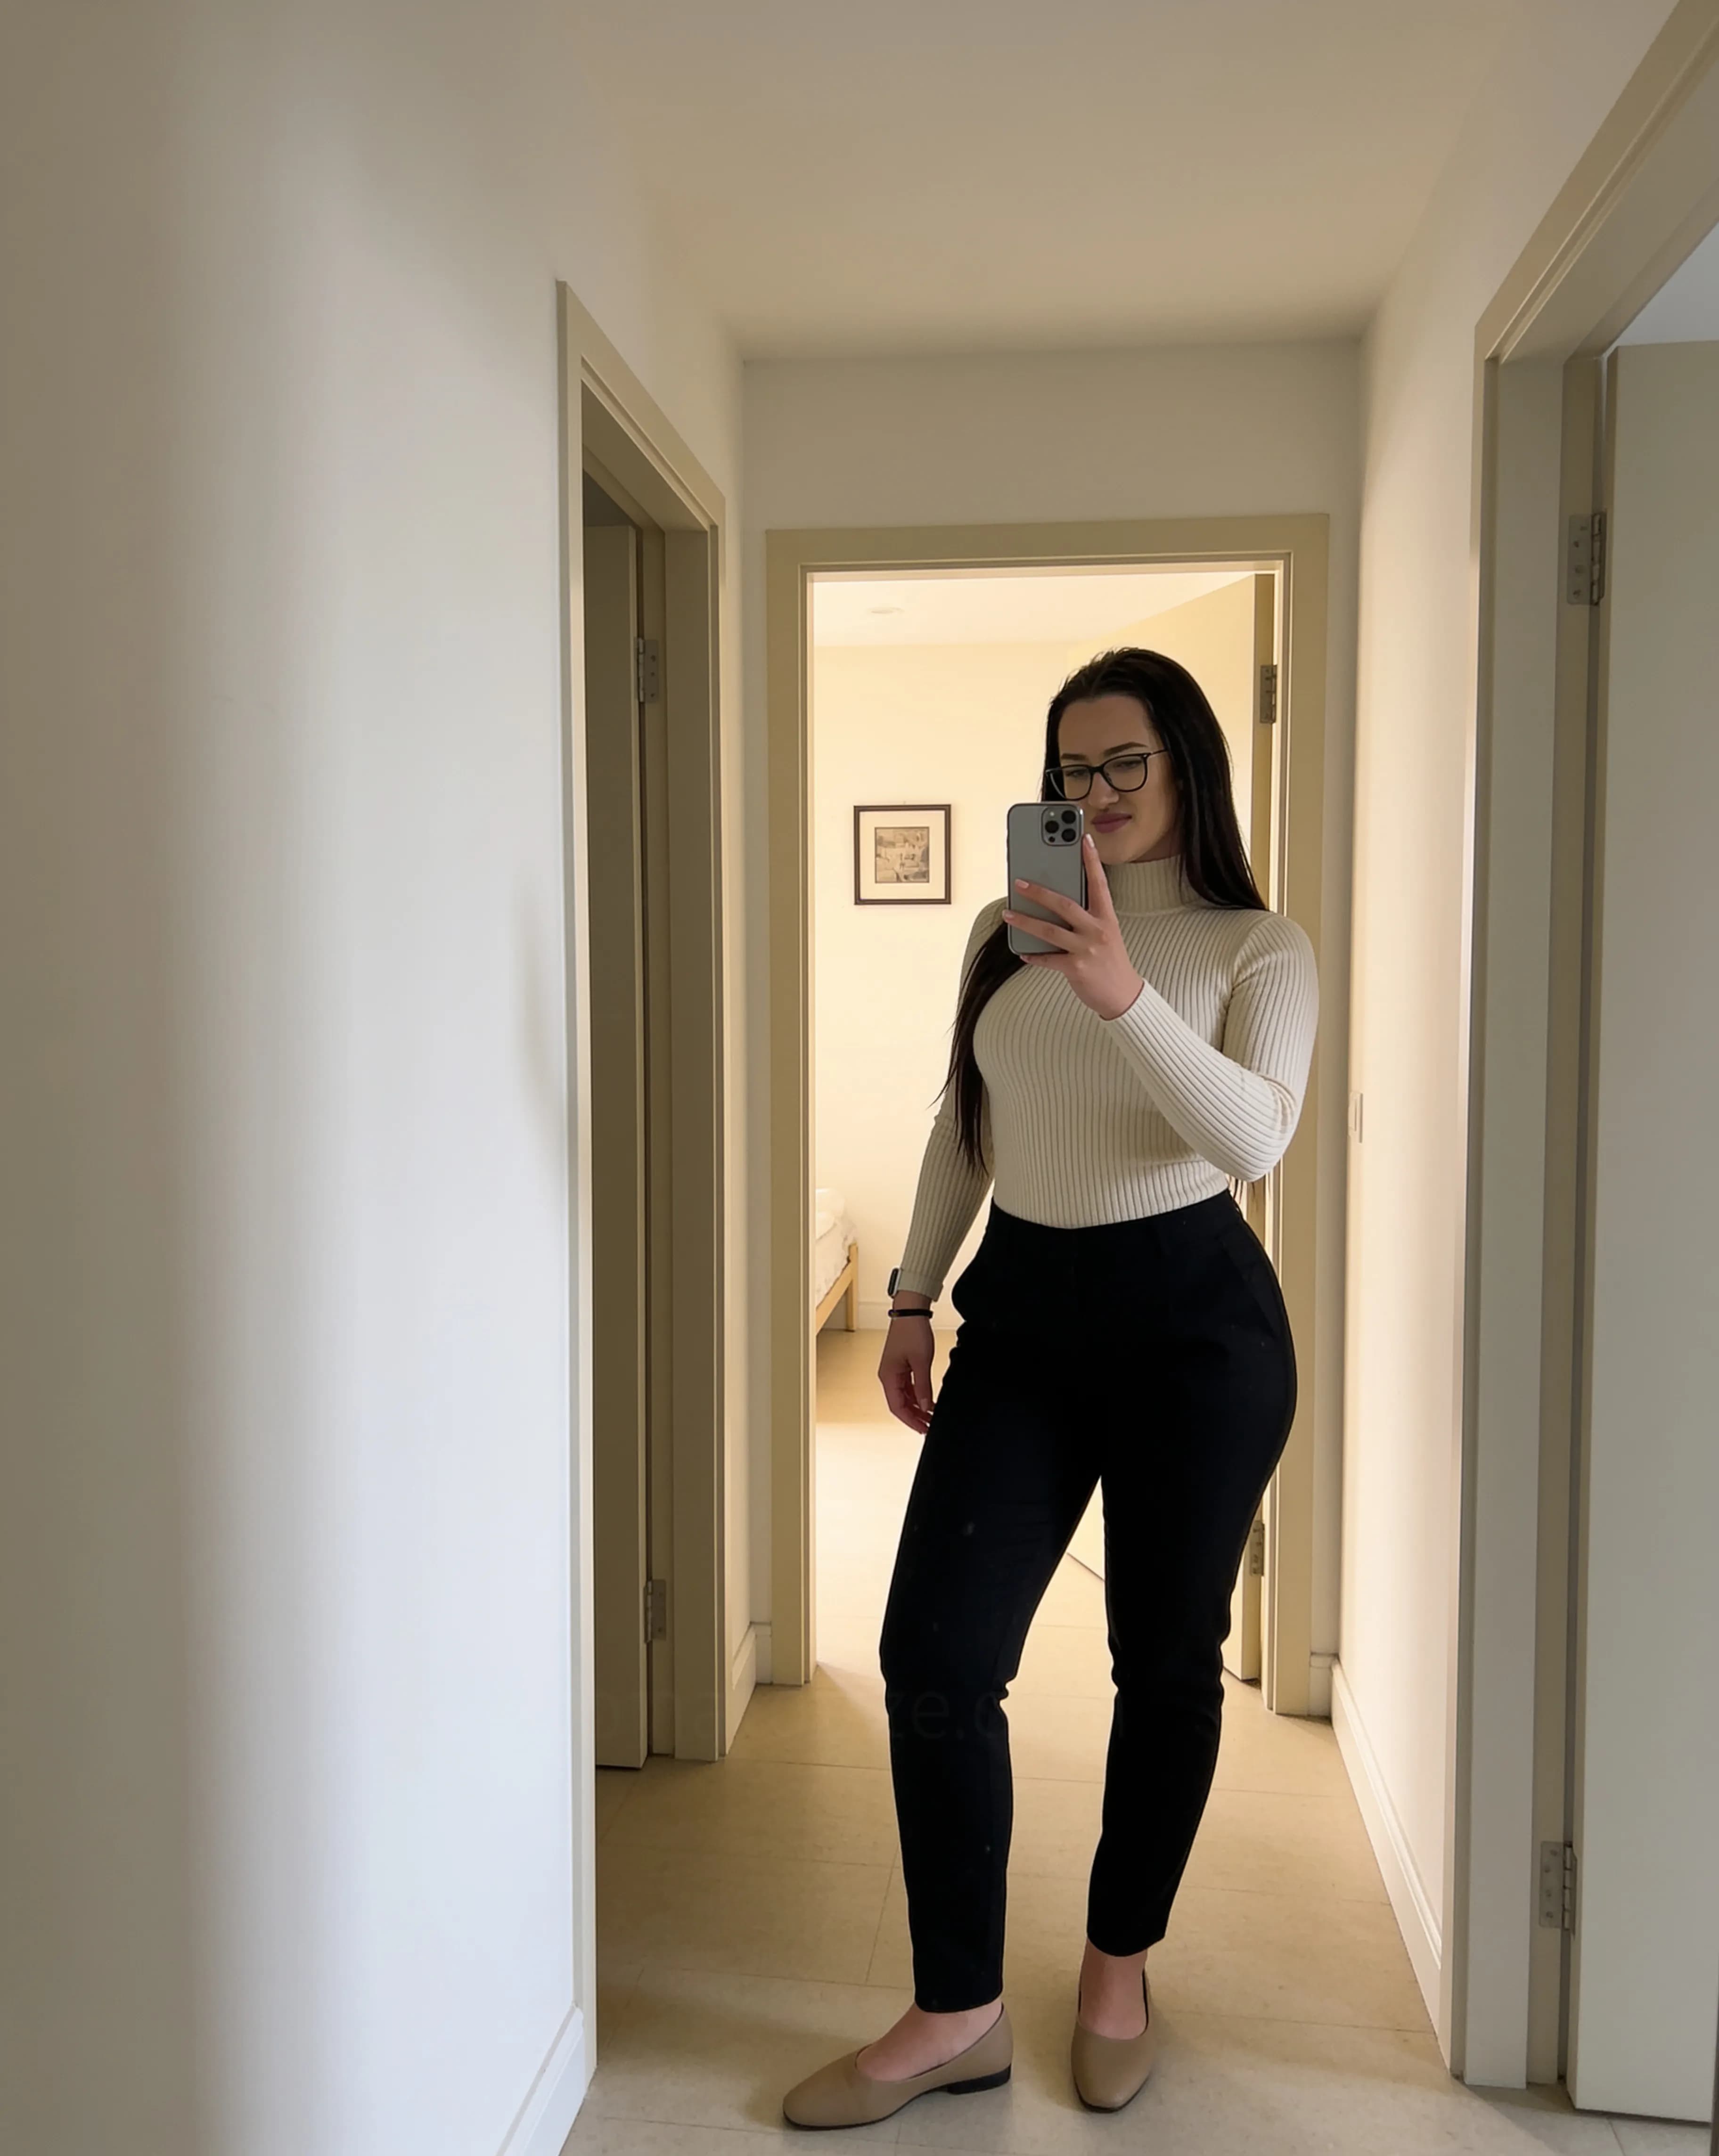
Doorways and hallways add natural lines and depth, which can make a compact apartment feel larger without showing a wide messy view.
Best lighting
Use the brighter room as the main light source. If the hallway is dark, place the subject closer to the lit doorway rather than deep inside the hall.
Best angle
Keep vertical lines straight and avoid excessive wide-angle perspective. Step back if possible instead of using ultra-wide unnecessarily.
What to remove from the frame
Close doors that do not add to the frame, move shoes and bags, and check that the far background is not full of visual clutter.
Watch for
Narrow spaces can distort proportions if the camera is too close. A normal lens view often looks more natural than an ultra-wide frame.
One simple example
A full-body photo framed by a doorway, with the subject slightly forward from the wall and the background simplified.
SPOT 06
Mirror near natural light
What makes the spot useful
A mirror near a window makes outfit framing easier and can add depth to a small room when the reflection is controlled.
Best lighting
Front or side window light usually works best. Backlight can look interesting, but exposure is harder because the window may become too bright.
Best angle
Keep vertical lines straight and adjust the phone position so it does not dominate the image. A slight turn can show the outfit without showing too much room.
What to remove from the frame
Clean the mirror and check everything reflected behind you, including open closets, laundry, cables, lamps, screens and bright packaging.
Watch for
The mirror reveals two scenes at once: the subject and the reflected room. Both need to be checked before shooting.
One simple example
A mirror selfie beside a window, with the phone partly covering the face and the reflected background kept simple.
SPOT 07
Kitchen or dining corner
What makes the spot useful
A kitchen or dining corner can create natural lifestyle photos because the setting already suggests coffee, breakfast, working or a casual daily moment.
Best lighting
Window light is usually cleaner than mixed under-cabinet, ceiling and appliance light. Use one main light source when possible.
Best angle
Frame a small part of the counter, table or chair instead of the entire kitchen. A tighter composition usually looks more intentional.
What to remove from the frame
Hide packaging, dishes, sponges, cords, bins, strong labels and too many small items on counters or shelves.
Watch for
Kitchens collect visual noise quickly. Leave one or two relevant objects if they help the scene, then remove the rest from the visible frame.
One simple example
A casual coffee photo at a dining corner, with one mug, one chair and a clean background instead of the full kitchen.
Visual examples to compare
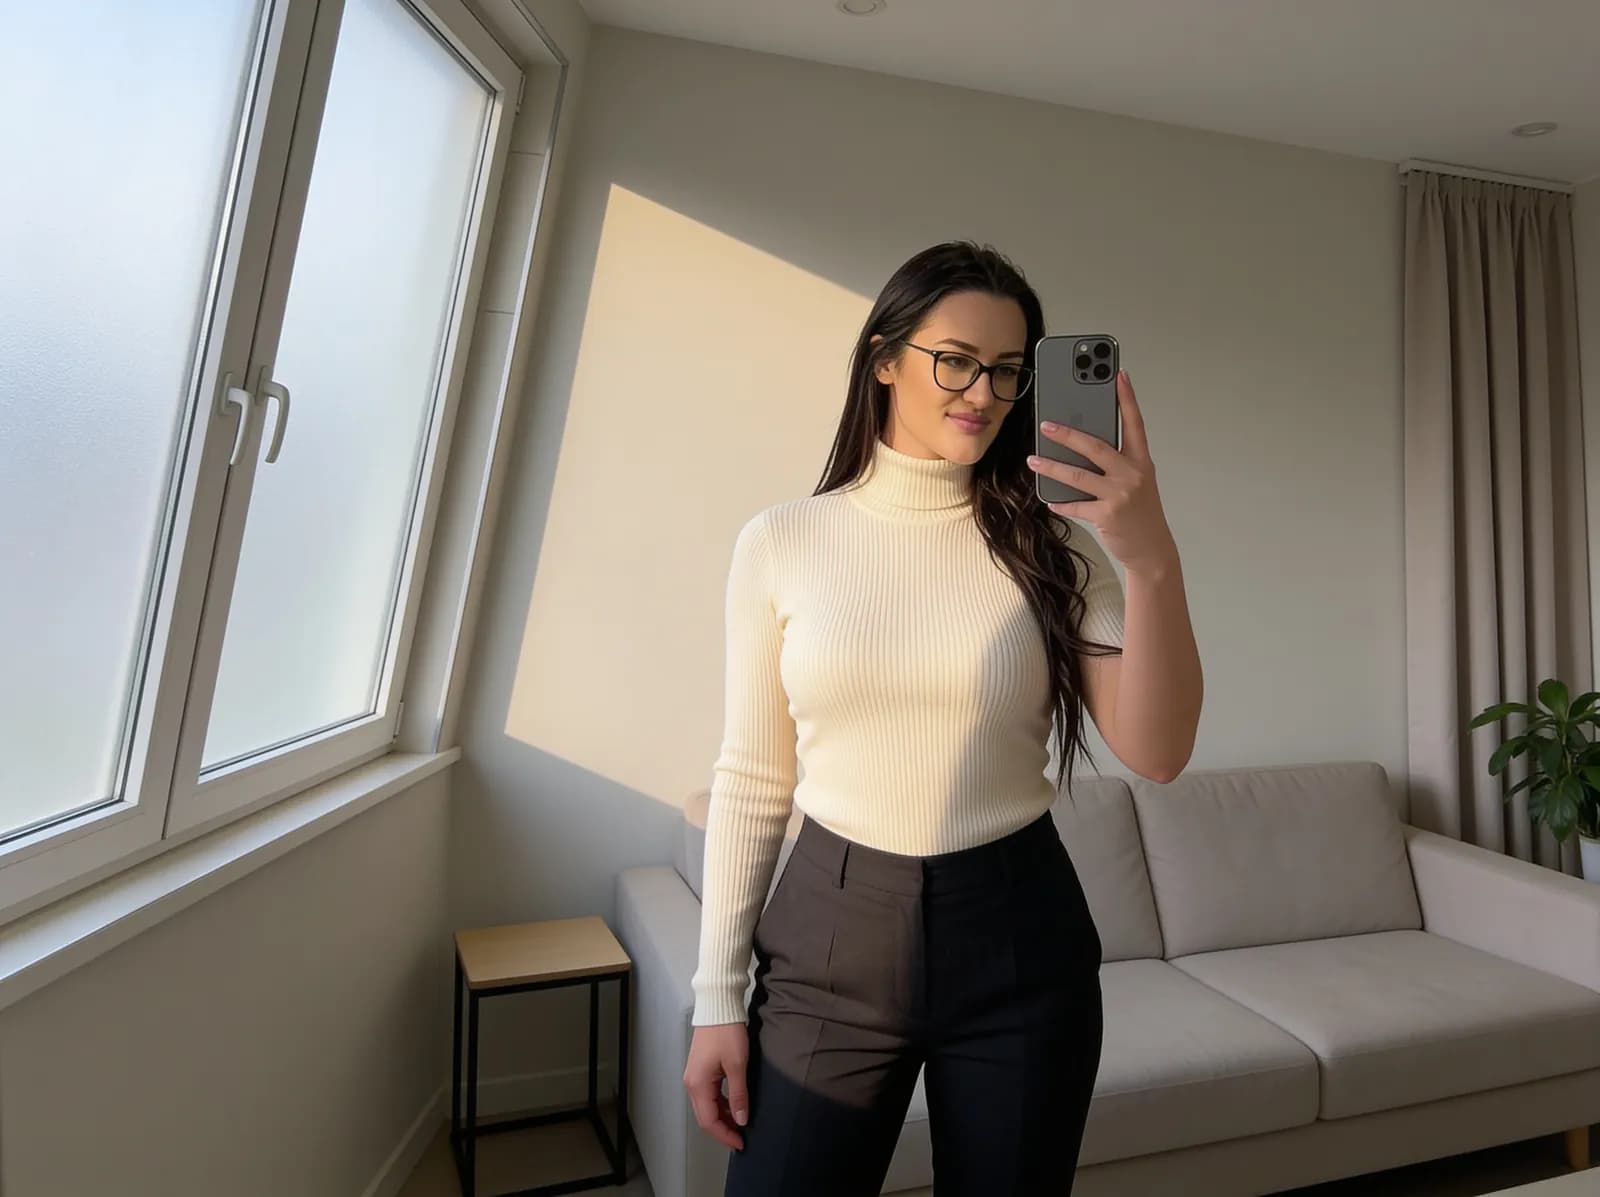
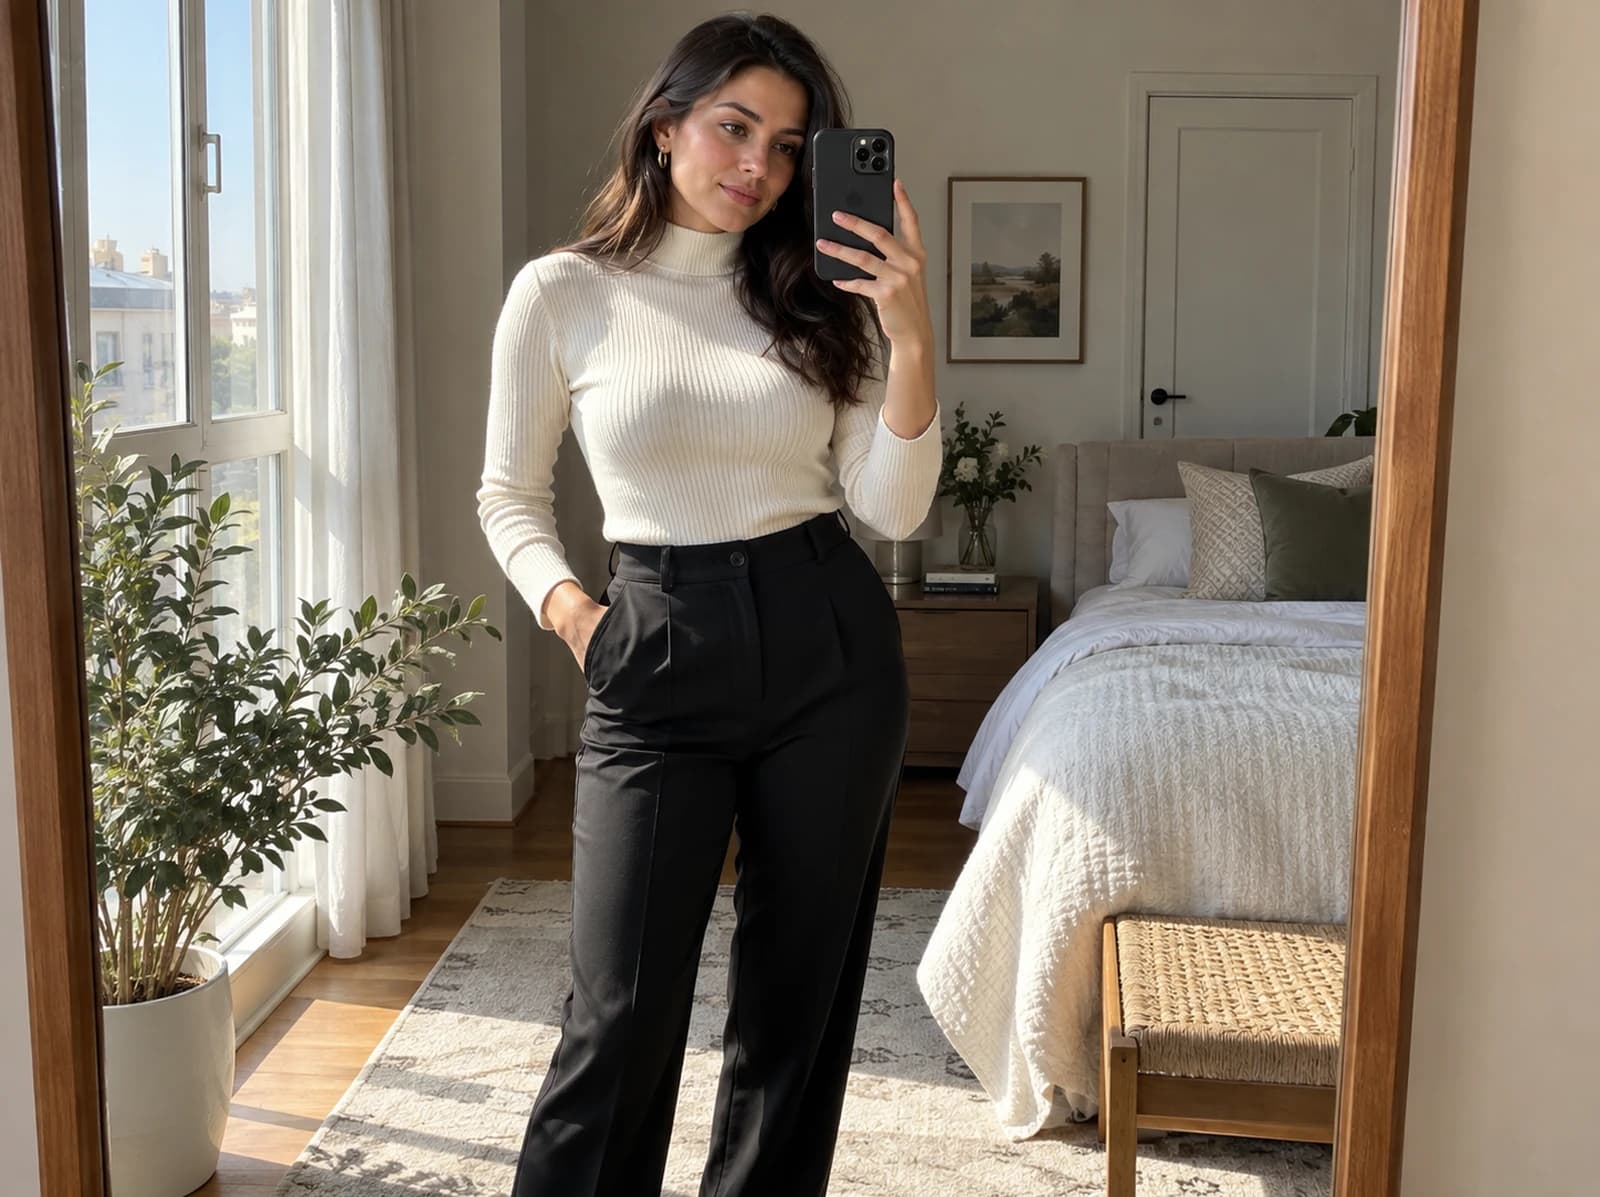
These existing examples show useful small-space ideas: window direction, mirror setup, a tidy bed corner, doorway depth and a simple wall background.
Why small rooms often look cluttered in photos
A camera can make edge details more noticeable than they feel in person. Cables, chair legs, packaging, open doors and small objects near the frame edge can compete with the subject even when the room feels tidy in real life.
Wide views can exaggerate this effect because they show more of the room at once. Bright objects, screens and strong colors also pull attention quickly. This does not mean every small room photographs badly. It means the frame needs more deliberate boundaries.
How to simplify the frame without redecorating
1. Move small objects temporarily.
2. Hide visible cables.
3. Straighten cushions, bedding and curtain edges.
4. Close unnecessary doors.
5. Remove bright packaging or labels.
6. Use one clean wall, curtain or quiet furniture surface.
7. Move only what actually appears in the frame.
This is usually faster than trying to make the whole apartment look perfect. A good photo setup can be just one clean corner and one useful light source.
Use distance to create depth
When the subject stands directly against a wall, the image can look flat because the subject and background sit on the same visual plane. A small gap can help the background fall away and make the subject feel more separate.
Depth also comes from foreground and background layers. A doorway, curtain edge, chair, blanket or window frame can help if it adds structure without crowding the image.
How to use window light
Start with the face turned toward the window for a simple, natural look. Then try a 45-degree angle so one side of the face or outfit catches more light than the other. This can add shape without making the photo dramatic.
Side light can create depth. Backlight can work too, but exposure becomes harder because the window may become much brighter than the subject. When possible, avoid mixing strong daylight with strong artificial light. Results still vary by room, weather and time of day, so a quick test frame matters.
For more indoor light examples, see the guide to natural indoor phone photography.
Angles that help small spaces
Eye-level framing usually keeps portraits natural. For full-body photos, a slightly lower camera can help the outfit fit cleanly in the frame, but an extreme low angle can make furniture and walls feel distorted.
Avoid excessively wide perspective unless it is intentional. Door frames and hallway lines can add structure, but they work best when vertical lines stay straight and the subject is not squeezed into a corner.
Mirror selfie setup
Clean the mirror first, then look at the reflected background before posing. A mirror photo often fails because the reflection shows laundry, open doors, bright packaging or clutter that the person taking the photo stopped noticing.
Keep vertical lines straight, use window light from the side or front, and decide whether the phone should partly cover the face or sit off to the side. For a deeper lighting comparison, read mirror selfie lighting tips.
Sofa and bed photos without looking messy
Soft surfaces collect visual clutter quickly. Simplify cushions, straighten visible edges and use one blanket or texture instead of several competing patterns.
Choose one clear focal area. On a sofa, that might be the front cushion edge and a clean wall behind it. On a bed, it might be smooth bedding, one pillow and a calm bedside corner.
Small apartment background ideas
You do not need a special backdrop. Many small-apartment backgrounds work because they are simple, close to light and easy to control.
For more examples, read home photo background ideas. If clothing color is competing with the room, the guide to colors that look good in photos can help you check contrast and separation.
Common mistakes
Quick room-prep checklist
✓ Is background simple?
✓ Are cables or packaging visible?
✓ Is there one main light source?
✓ Is the subject separated from the wall?
✓ Are mirrors showing clutter?
✓ Are bright screens distracting?
✓ Does the frame need fewer objects rather than more decoration?
Five-minute setup routine
1. Pick one corner.
2. Remove visible clutter.
3. Turn off conflicting lights if appropriate.
4. Check window direction.
5. Place the subject slightly away from the wall.
6. Take one test frame.
7. Adjust only what appears in the photo.
When a small room can look better than a large room
A small room can sometimes be easier to control because there are fewer background zones, fewer competing light sources and less empty space to solve. Limited composition can make the frame feel cozy and intentional.
This is not always true. Some rooms are harder because they have mixed lighting, awkward furniture placement or very little distance to work with. But a compact space can still photograph well when the frame is selective and the background is kept calm.
About the visual examples
Sofia is a fictional virtual creator. Any visual examples on this page are digitally created and used to illustrate lighting, framing, background and small-space photography concepts.
About this guide
Sofia is a fictional virtual creator. This guide is published by SofiaRusso.vip and maintained by the site owner. AI tools may assist with drafting or illustrative imagery, while the final published material is reviewed before publication.